Where to Find Quartz in the UK: A Beginner's Guide to Legal and Safe Field Collecting
Quartz is the most common mineral in Britain, which is both good news and a quiet trap. It's in the pebbles on the beach, the gravel in the stream, and the white veins crossing half the cliffs in Cornwall. Common, though, doesn't mean fair game. Plenty of the best-looking ground sits on private land, inside a protected site, or directly above an unfenced mine shaft. The trick is knowing where you're welcome, what the rules are, and how to come back with a few decent specimens and all your fingers intact.
Where quartz actually turns up
Beginners often picture a cave lined with crystals. The reality is more modest, and much easier to work with once you know what to look for.
Beaches, gravel bars and field edges
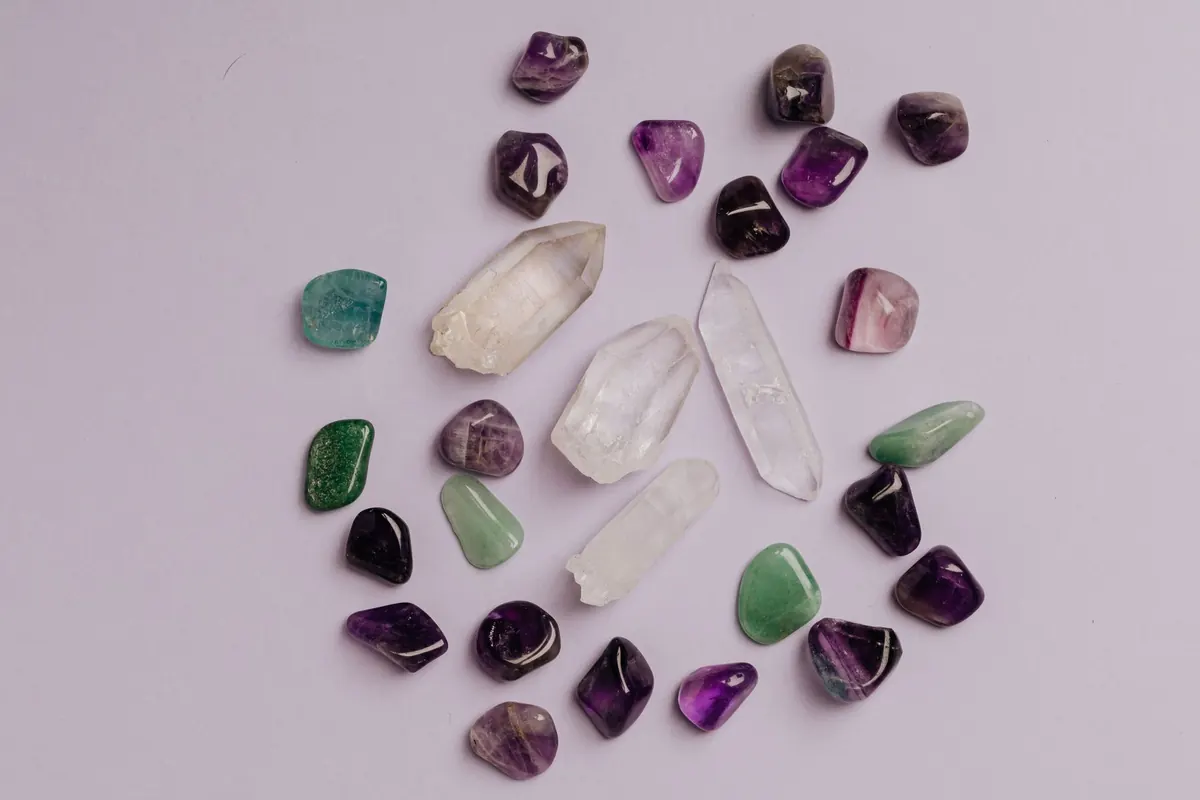
Small milky quartz pebbles and broken crystal fragments collect in shingle, river gravel and the stony edges of ploughed fields. They've already been weathered out of the rock, so they're loose, legal to pick up in most places where you have permission, and a good way to train your eye. Look for white to grey stones with flat, shiny faces and a slightly greasy look when wet. A 10x hand lens turns a dull pebble into something worth keeping.
Spoil heaps and quarry tips
Old mine workings and disused quarry tips are the classic beginner's hunting ground. The rock has already been broken and hauled to the surface, so you're sorting through loose material rather than attacking a cliff. Quartz often appears here as vein material with iron staining, sometimes with small cavities lined with crystals. Always check whether the site is on private land, whether the quarry is still active, and whether the tip is a protected geological site.
Veins in bedrock
You'll spot quartz veins in coastal cliffs, road cuttings and upland crags across Wales, Scotland, the Lake District, the Peak District and the South West. In most cases the right move is to photograph them, note the location, and leave the hammer in your bag. Hammering a fixed exposure damages a feature that can't be replaced, and on many sites it's an offence.
Permission comes first
Before you travel anywhere, work out who owns the land and ask them. For farmland, that means the farmer or the estate office. For Forestry and Land Scotland, Natural Resources Wales or National Trust land, ring the local office and ask what their policy is. For a working quarry, you need the operator's written agreement, and they'll usually want you to sign in and wear the right gear.
In England and Wales, trespass is generally a civil matter, but that doesn't make it fine to help yourself. Removing minerals from land without permission can be treated as theft, and you'll usually be asked to leave. In Scotland, the access rights that let you walk almost anywhere do not cover taking rocks, fossils or minerals. Foreshore ownership is often with the Crown Estate, but councils, harbour authorities and site designations add their own rules. If you're unsure about a site, ask the relevant body before you go. This is general guidance, not legal advice.
Protected places: when the answer is no
Sites of Special Scientific Interest are the big one. Many of Britain's finest geological exposures are SSSIs because the rock itself is the feature being protected, and damaging that feature can be a criminal offence. The same caution applies to National Nature Reserves, scheduled monuments (a great many old mine sites are scheduled), and areas where rare plants or breeding birds would suffer from disturbance.
If you want to know whether a location is designated, check the relevant country agency's online mapping before your trip. A five-minute search has saved plenty of collectors a wasted journey.
A kit list that earns its place
- Geological hammer with a proper chisel end. A claw hammer will bounce off and injure you.
- Two or three cold chisels in different widths, for splitting along a seam.
- Safety glasses and gloves. Chips fly further than you expect.
- Sturdy boots with ankle support and a decent tread.
- Hard hat if you're anywhere near a tip, a quarry or an overhang.
- Newspaper, bubble wrap, sample bags and a marker pen for labelling as you go.
- OS map or phone mapping app, plus a charged power bank.
- First aid kit, water, food, waterproofs and a dust mask if you'll be breaking rock.
A cheap plastic tray is worth its weight too. It keeps small crystals from vanishing into the grass while you sort through a heap.
Staying safe on old mining ground
Old metal mining country is beautiful and genuinely hazardous. Shafts are often capped with rotting timber or hidden under bracken and brambles. Adits look tempting and are not worth the risk: bad air, unstable roofs and flooded sections injure people every year. Never enter underground workings, and don't lean over a shaft collar to get a better look at a vein.
Spoil heaps are steep, loose and frequently undercut by water, so test your footing and keep away from the base of any face. On the coast, check tide times and never work below a cliff that's shedding rock. Quartz dust contains crystalline silica, so wear a mask when breaking stone and work upwind. Cover any cuts, wash your hands before eating, and tell someone where you're going and when you'll be back. Signal is patchy in most of the good places.
Collecting without wrecking the site
Take loose material from the surface of a tip rather than digging into it. Leave the in-situ veins alone. Don't clear every crystal from a cavity; leave some for the next person and for the site itself. Refill any small holes you make, take your rubbish home, and pack out broken tools. Label each specimen with the location and date straight away, because a box of unlabelled white rocks is just a box of white rocks a year later.
Planning your first trip
- Pick one accessible site where collecting is clearly allowed and you have permission in writing or by email.
- Check it isn't an SSSI, scheduled monument or reserve before you set off.
- Go with someone, tell a third person your route, and start with two hours of daylight to spare.
- Spend the first 20 minutes just looking. Learn the shape of the quartz before you swing a hammer.
- Take a handful of good specimens, not a bucketful of average ones.
- Photograph the site and note the grid reference for your records.
Start small, ask first, and treat every site as if you'll want to return to it. That's the whole discipline, and it's what keeps this hobby open to everyone.